
DIY Tips for Installing Security Cameras with Low Voltage Telecom
Why Choose DIY for Security Camera Installation?
Installing security cameras in your home or business is a smart way to enhance safety and deter potential intruders. While hiring a professional can be convenient, opting for a DIY installation can save you money and give you more control over the setup. With some basic tools and guidance, you can successfully install security cameras yourself.
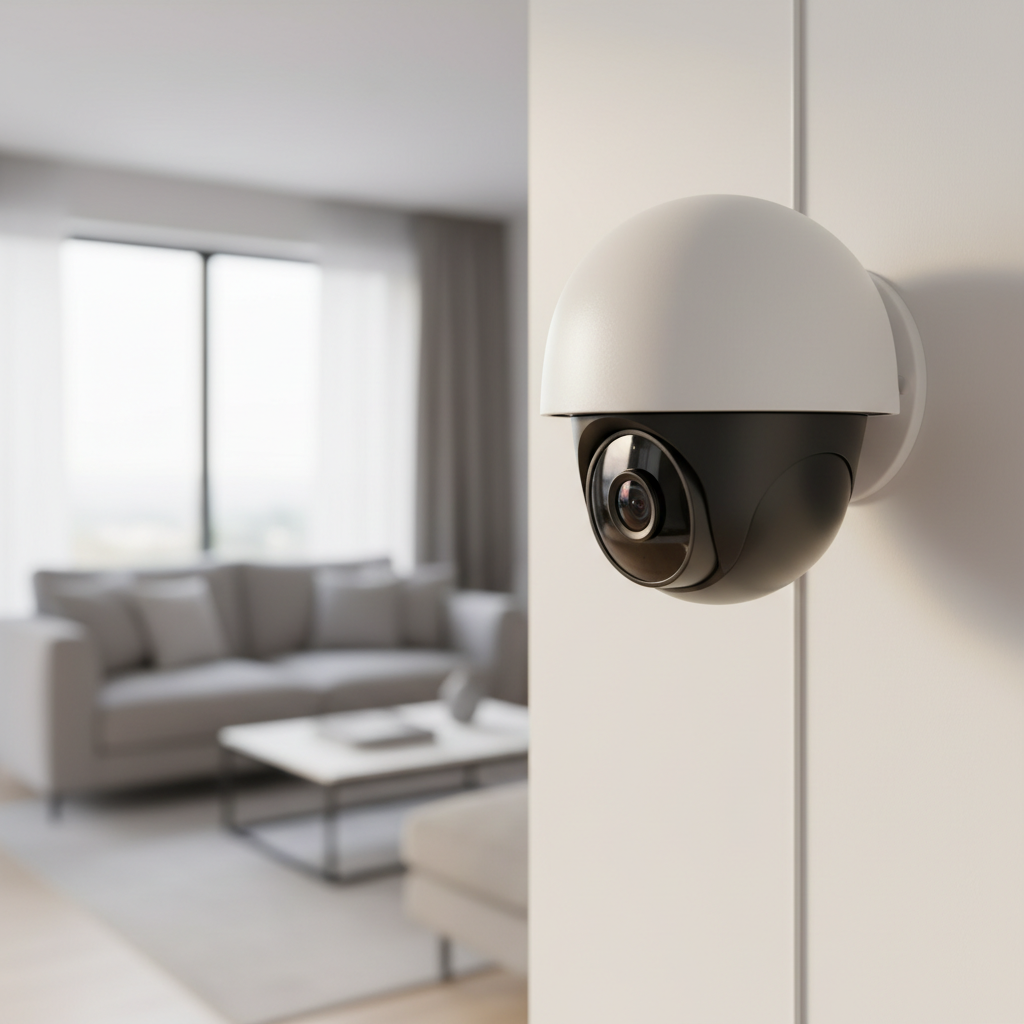
Understanding Low Voltage Telecom
Low voltage telecom refers to systems operating at 50 volts or less, commonly used in data communications and security systems. These systems are safer to work with than high-voltage equivalents and are ideal for DIY projects. When installing security cameras, understanding low voltage telecom is beneficial as it allows you to connect cameras safely and efficiently.
Gathering the Necessary Tools and Equipment
Before starting your installation, gather all necessary tools and equipment. This typically includes:
- Drill and drill bits
- Screwdrivers
- Fish tape
- Wire strippers
- Cable ties
- Security cameras and mounting kits
Having these tools on hand will streamline the process and minimize interruptions.
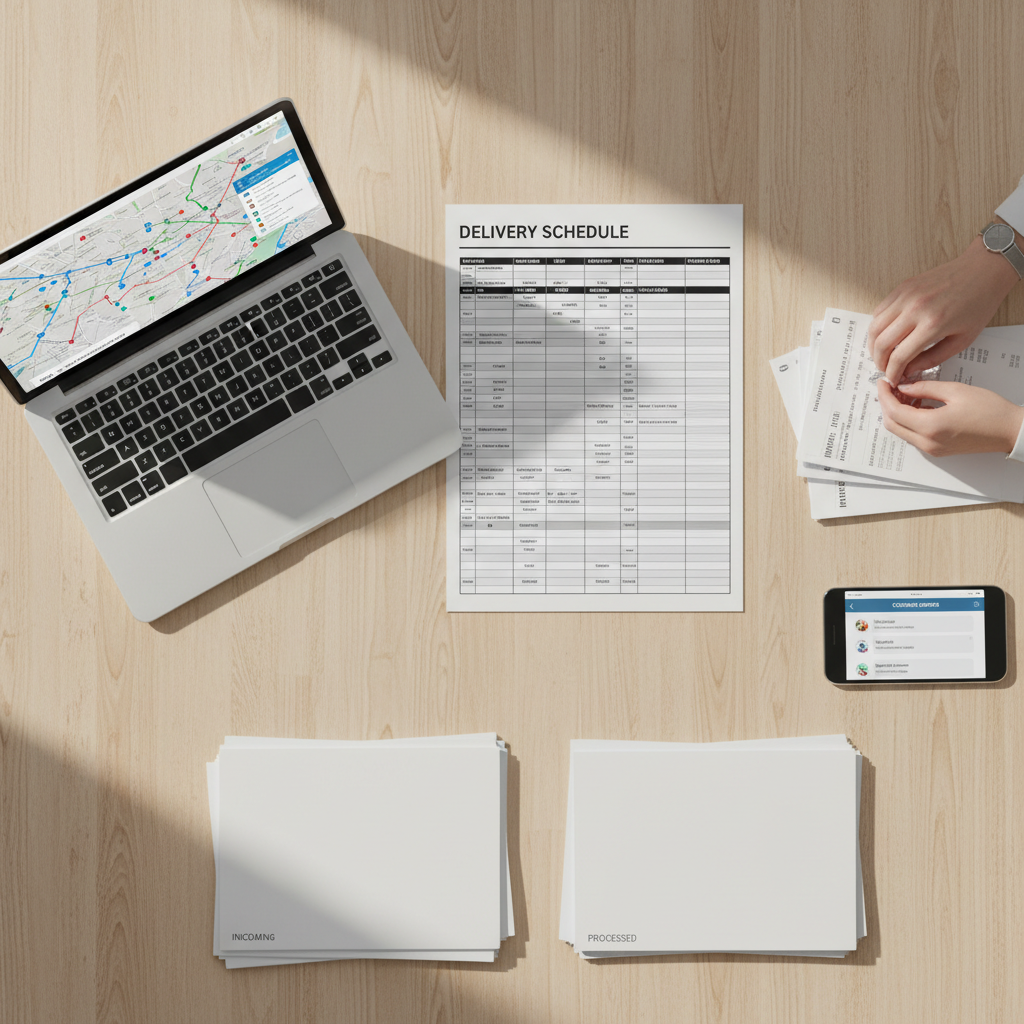
Planning Your Camera Layout
Effective camera placement is crucial for optimal coverage. Start by identifying key areas such as entry points, driveways, and blind spots. Consider the range and field of view of each camera to ensure comprehensive coverage. A well-planned layout not only maximizes security but also reduces the number of cameras needed.
Mounting and Positioning Cameras
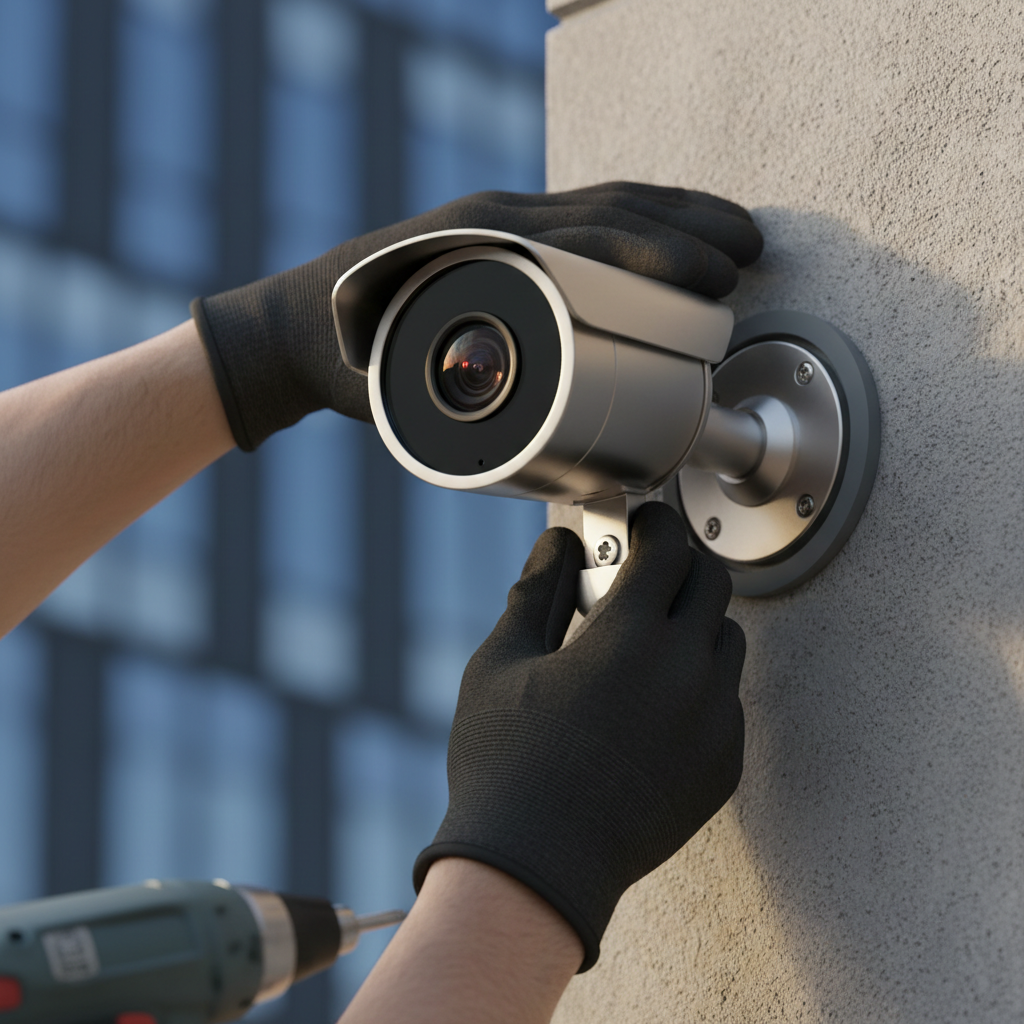
Once your layout is finalized, proceed with mounting the cameras. Follow these steps for a successful installation:
- Mark the drilling spots using the camera mount as a guide.
- Drill the holes and insert wall anchors if needed.
- Secure the camera mount with screws.
- Attach the camera and adjust its angle for optimal coverage.
Ensure that the cameras are out of reach to prevent tampering.
Wiring and Connecting Cameras
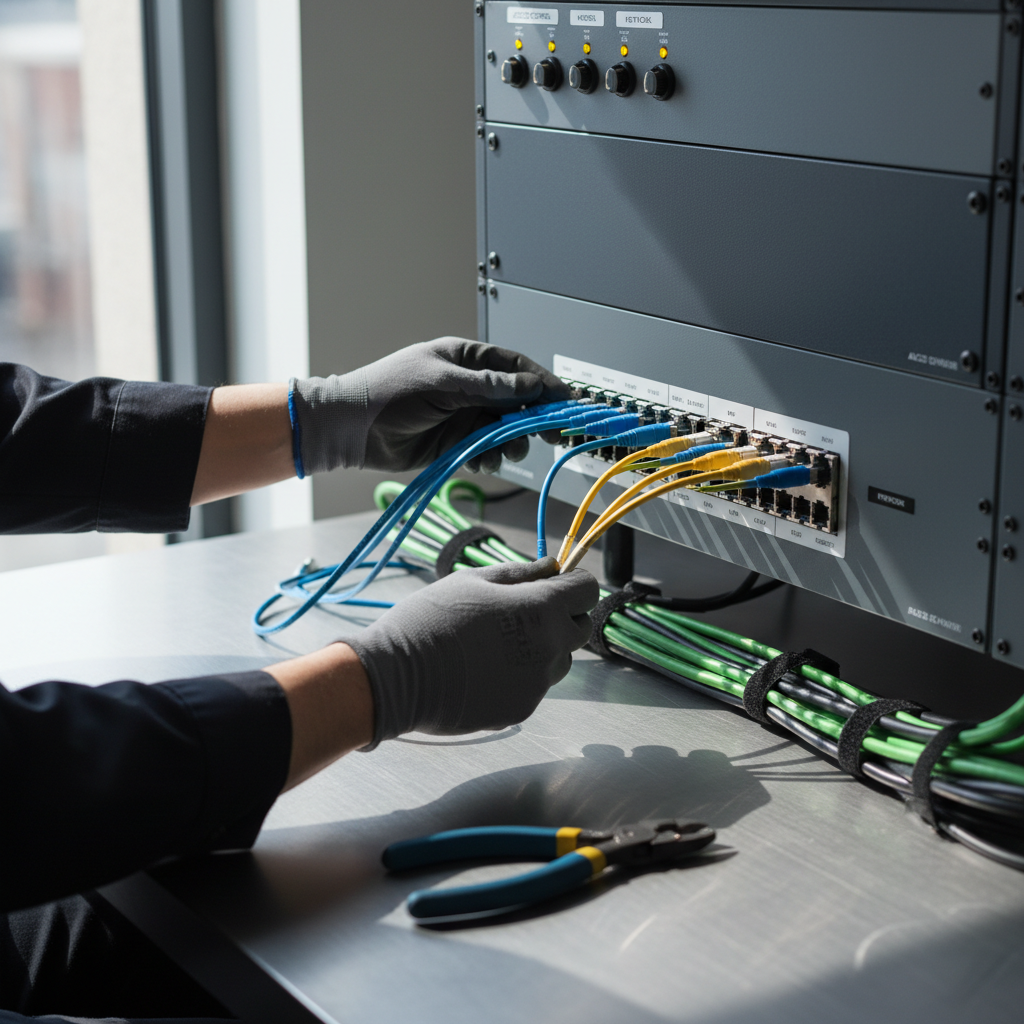
With the cameras mounted, it's time to connect them. If using wired cameras, run the cables through walls or ceiling spaces to keep them hidden and protected. Use fish tape to guide the cables through tight spaces. For wireless systems, ensure a stable Wi-Fi connection and test the signal strength at each camera's location.
Configuring Your Security System
After installation, configure your security system to suit your needs. This includes:
- Setting up a recording schedule
- Configuring motion detection zones
- Adjusting alert settings
These settings allow you to tailor the system's functionality to match your security preferences.
Testing and Maintaining Your System
Once everything is set up, test each camera's footage to ensure clear visibility and proper function. Regular maintenance, such as cleaning camera lenses and checking connections, will help keep your system in top condition. Periodically review recorded footage to ensure the system is capturing all necessary events.
By following these DIY tips, you can efficiently install and manage your security cameras with low voltage telecom. This hands-on approach not only enhances your security but also provides a sense of accomplishment. With a little effort and planning, you'll have a robust security system tailored to your needs.